


** Process :
- install n activate the plugin
- wp dashboard > layered pop up > pop ups
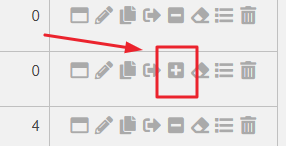
- choose a ready made pop up & click Plus(+) to unblock
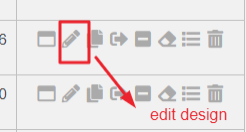
4. click edit icon to edit the design
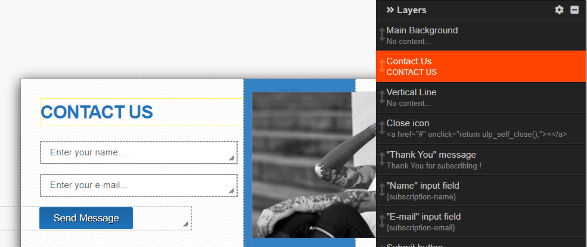
5. at bottom – get “Popup Constructor” and edit as needed
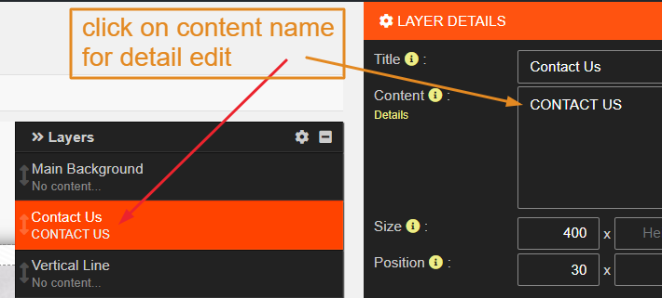
6. click on content name for details customization/edit
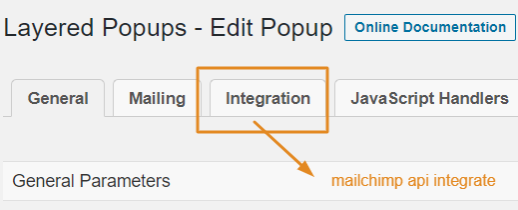
7. after pop up customize click “integration” at top
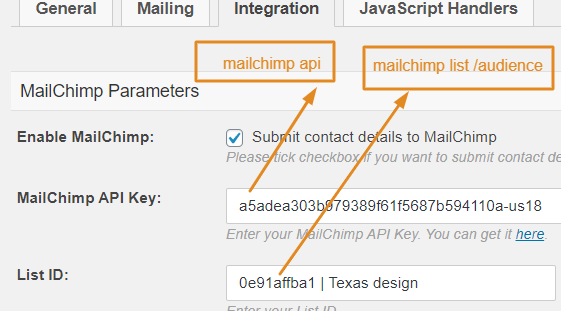
- enable mailcimp
MailChimp API Key:: put mailchimp api from > mailchimp dashboard > account > extras > api (or direct click the link https://us18.admin.mailchimp.com/account/api/)
List ID:: from dropdown choose mailchimp list/audience > save at bottom
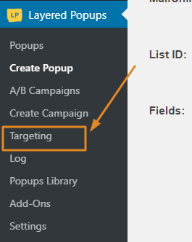
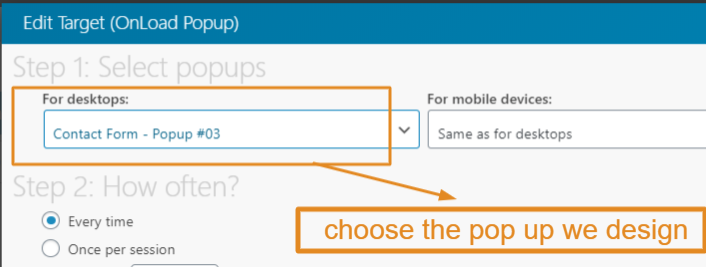
9. wp dashboard > layered pop up > targetting
10. click Active Targets > create
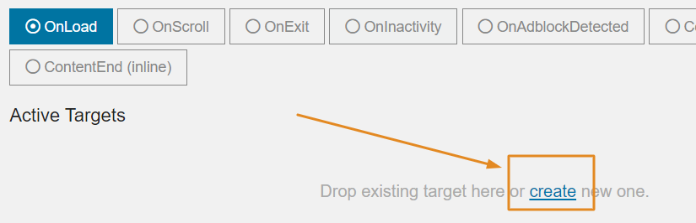
11. for desktop > choose the pop up we design > save target
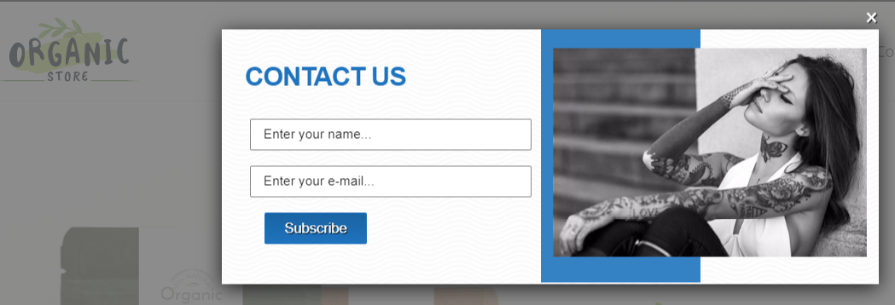
12. now view the website (any page) & enjoy pop up
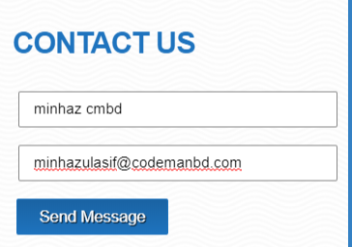
13. lets filled up the popup form & submit
14. click mailchimp > audience > click to the no of subscriber
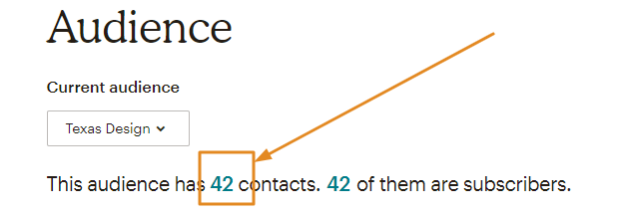
15. see your email is already there – what you used for pop up form submitting (so mailchimp collect the emails – this is called lead collection – and the form is called lead collect form and the page is called lead collect landing page

| Benefit ? |
| – from mailchimp audience we can now get all emails at excel/csv for further marketing by mailchimp email marketing for sending discounts/offers ad make him buy our services/products |
| Export leads from mailchimp |
| – select all leads & click export audiences |
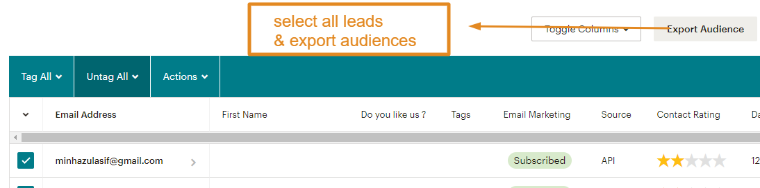
– click export to csv

at excel open the downloaded file and see you have all the emails – this is exported leads – we can utilize them by sending mailchimp email templates for offer sending and get him buy my service/product // this is mailchimp subscriber collect by pop up